

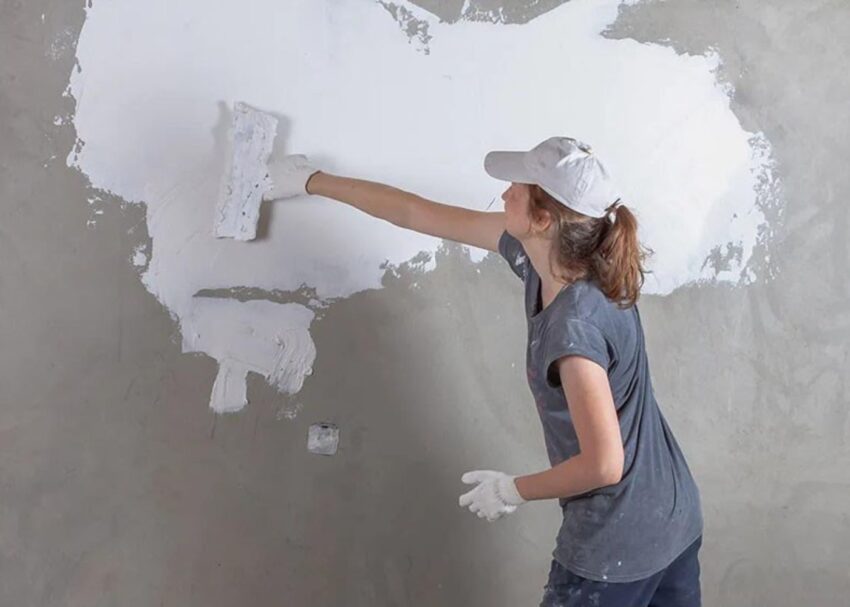
A painting project usually gets most of its attention when it comes to color. People compare samples, choose a finish, calculate how much paint they need, and think about how the room will look when everything is finished. The less exciting part happens underneath: getting the surface ready for that final coat.
That is where paint and primer work as part of a larger painting process. Primer isn’t simply another bucket that gets added automatically before paint. Depending on the surface, it can help create a more consistent foundation, improve adhesion, seal porous areas, or address specific problems before the finish coating is applied. Benjamin Moore identifies bare substrates, stains, dramatic color changes, and difficult surfaces among situations where a dedicated primer may be appropriate.
The key is knowing where primer belongs in the project—and what you should do before reaching for it.
The Surface Comes First
Primer cannot compensate for a surface that has not been properly prepared.
Before priming, inspect the area carefully. Look for peeling paint, cracks, holes, dust, grease, mildew, loose material, and glossy areas that may interfere with adhesion.
Benjamin Moore recommends cleaning walls, removing loose or flaking material, sanding rough areas when appropriate, and allowing the surface to dry thoroughly before painting.
This is particularly important in rooms such as kitchens, where grease and cooking residue can accumulate on walls. Applying a coating over contamination can create problems later because the new product is not bonding to a clean, stable surface.
Think of it this way: primer prepares the surface for paint, but preparation prepares the surface for primer.
Repairs Should Happen Before Priming
Small wall repairs are easy to overlook when you’re eager to start painting.
A few nail holes, a repaired crack, or a patched section may seem insignificant. Once the new paint is applied, however, differences in texture or absorption can make those areas stand out.
Fill the damaged areas with an appropriate patching material, allow the repair to dry, and sand it smooth as required. Benjamin Moore’s technical guidance for interior coatings recommends spot-priming before and after filling certain surface imperfections.
This is one reason a painting project often takes longer than the actual rolling and brushing. The visible finish is only as good as the surface underneath it.
New Surfaces Behave Differently
A previously painted wall and a brand-new substrate should not automatically be treated the same way.
New drywall, for example, is porous. The paper surface and joint-compound areas can absorb coatings differently, which can lead to an uneven appearance if they are not properly sealed.
Benjamin Moore recommends priming new drywall because of its porosity and notes that primer can help create a more uniform surface.
Other new or uncoated materials can have their own requirements.
Bare wood, masonry, plaster, metal, PVC, and composite materials may require specific preparation or primer selection depending on their condition and the coating being applied. The product’s technical information should always be checked before starting.
Give Primer Time to Do Its Job
One of the easiest ways to disrupt a painting project is to rush between coats.
Primer needs to dry according to the manufacturer’s instructions before the next coating is applied. Drying and recoat times can vary depending on the product, temperature, humidity, ventilation, and surface.
Benjamin Moore specifically recommends considering the required dry time between primer and paint when planning the overall project schedule.
That matters when you’re trying to finish a room in a single day. If you build your schedule around unrealistic drying times, you may end up applying the finish coat too early.
A better approach is to read the product label before beginning and plan the work around the stated requirements.
Sanding Can Be Part of the Process
Primer isn’t necessarily the final step before paint.
Depending on the project, sanding may be useful after a primer coat has dried, particularly when you’re trying to achieve a particularly smooth finish. The exact approach depends on the product and substrate.
For example, Benjamin Moore’s Fast Sanding Primer is specifically designed to create a smooth base for a topcoat and can be sanded after its specified drying period.
The important point is not to sand every primer automatically. Follow the product directions and consider what type of finish you’re trying to achieve.
For a basic wall repaint, extensive sanding between every stage may be unnecessary. For cabinetry, furniture, or detailed woodwork, surface smoothness can become much more important.
Choose Primer for the Problem, Not Just the Color
Different primers are designed to solve different surface challenges.
A general-purpose primer may be appropriate for one project, while another may need a bonding primer, stain-blocking primer, or product formulated for a particular substrate.
The Paint Shops carries a range of primer products, including Benjamin Moore Fresh Start options and other specialty products. The broader Benjamin Moore primer range includes high-hiding, drywall, bonding, multi-purpose, and oil-based primer options designed for different applications.
For example, bonding primer can be useful when adhesion is the primary concern on a hard or slick surface. A stain-blocking primer serves a different purpose.
Instead of asking, “Which primer is the best?” ask, “What problem does my surface need the primer to solve?”
That question usually leads to a more useful answer.
Paint-and-Primer Products Can Simplify Some Projects
Not every repaint requires a separate primer coat.
Modern paint-and-primer products can be self-priming on many properly prepared surfaces. Benjamin Moore states that its paint-and-primer products are designed to self-prime most properly prepared surfaces, while still recommending appropriate preparation and, in many cases, two coats for full color development and performance.
That can make a straightforward repaint considerably simpler.
If you’re working over an existing, sound coating and there are no significant adhesion, stain, porosity, or substrate concerns, a suitable paint-and-primer product may be a practical choice.
The important phrase is properly prepared surface.
The convenience of a paint-and-primer product does not eliminate cleaning, repairs, or other preparation that the surface requires.
The First Coat Shouldn’t Be an Experiment
Before covering an entire room, make sure you understand how the product behaves on the surface.
Read the label and technical data. Check coverage and recoat information. Consider the existing coating and confirm that the new product is appropriate for it.
If you’re uncertain about compatibility, testing a small inconspicuous area can be a useful precaution.
This is particularly valuable when you’re dealing with older surfaces, unusual materials, glossy coatings, or previous layers whose composition isn’t known.
A few minutes of testing can be much easier than discovering a compatibility problem after the entire wall has been painted.
Build the Project in the Right Order
A well-organized painting project can follow a straightforward sequence:
Inspect → Clean → Repair → Sand where needed → Prime where required → Allow to dry → Sand if appropriate → Apply finish paint
Not every project will require every step. A clean, previously painted wall may need far less preparation than a damaged or completely new surface.
The point is to make each stage solve a specific problem rather than adding steps simply because they are part of a traditional painting routine.
Think of the Finish Coat as the Final Layer
The visible paint gets all the attention, but the quality of the finished project often depends on what happened before it.
Good preparation creates a more stable starting point. The right primer can address adhesion, porosity, stains, or other surface conditions. The correct finish paint then has a better foundation on which to perform.
That is why choosing paint and primer should be part of a larger project plan rather than a simple product-selection decision.
Before starting your next painting job, spend a few minutes examining the surface and identifying what it needs. You may discover that a straightforward paint-and-primer product is all that’s necessary—or that a dedicated primer has a specific role to play.
Either way, the goal is the same: give the finish coat a surface that is clean, prepared, and ready for it.